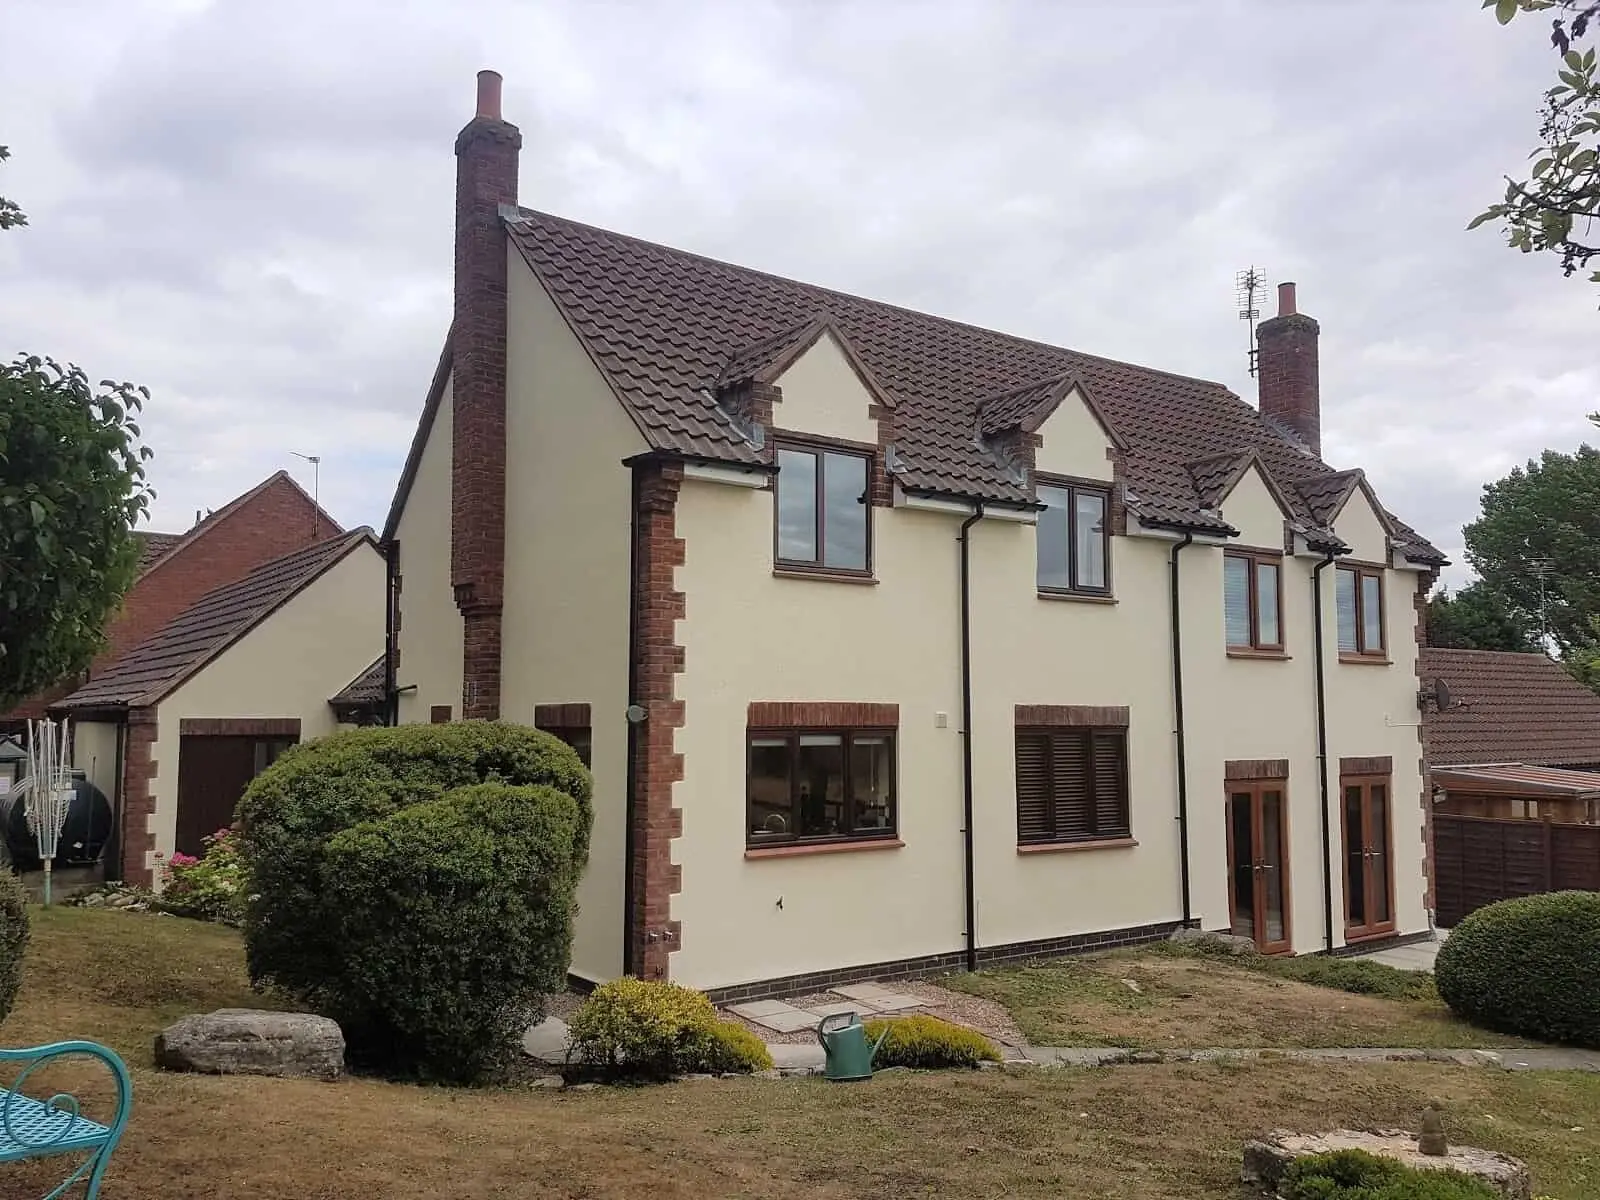
Wall rendering is a transformative process that involves applying a mixture, typically cement, lime, or acrylic, to exterior walls. This technique not only provides a protective layer against the elements but also significantly enhances the building’s aesthetic appeal. By choosing the right materials, colors, and finishes such as acrylic paint, rendering can turn a bland facade into a captivating exterior.
In this guide, we’ll dive into practical tips and tricks to master the art of wall rendering. From selecting the perfect texture to applying the render effectively, we’ll cover all you need to know to elevate the beauty of your building’s exterior. Get ready to transform your space with the power of rendering.
Basics of Wall Rendering
Wall rendering is an essential technique in both protecting and beautifying exterior walls. At its core, rendering involves applying a protective and decorative layer of material to the exterior of a building. The choice of material can vary, with common options including cement, acrylic, and lime. Each material offers distinct qualities: cement is known for its durability, acrylic for its flexibility and water resistance, and lime for its breathability and traditional appeal.
The role of wall rendering extends beyond aesthetics. It acts as a shield against weather elements, preventing deterioration caused by rain, wind, and sun. Additionally, rendering can improve thermal insulation and prevent dampness.
The basic steps in the wall rendering process include surface preparation, which is crucial for ensuring adhesion; mixing the render material to the right consistency; and applying it to the wall in even layers. Achieving a smooth and uniform finish requires skill and attention to detail, making the rendering process both an art and a science.
Also, You can enhance your design projects by utilizing 2D CAD online tools for precision and accessibility.
Choosing the Right Materials and Colors for Wall Rendering
Selecting the ideal materials and colors for wall rendering is crucial for both durability and aesthetics. When choosing materials for residential or commercial rendering projects, consider the climate, wall surface type, and desired maintenance level. For instance, cement render is great for durability, acrylic for weather resistance, and lime for older buildings needing breathability.
Color selection is equally important. The right color can enhance the building’s style and help it blend or stand out in its surroundings. Consider the color palette of the neighborhood, the natural landscape, and the architectural style of the building. Neutral tones offer timeless appeal, while bold colors can make a statement.
Before finalizing your choice, it’s wise to test color samples on a small section of the wall. Observe how the color looks at different times of the day and in varying weather conditions. This step ensures the chosen color meets your expectations in real-world conditions.
Preparation and Application Techniques for Wall Rendering
Proper preparation and application are key to successful wall rendering. Start by preparing the surface; it should be clean, dry, and free from loose material. Repair any cracks or damages and dampen the wall slightly to improve the render’s adhesion.
For application, follow these steps:
- Mix the Render: Prepare your render mix according to the manufacturer’s instructions, ensuring a consistent, lump-free consistency.
- Apply the First Coat: Using a trowel, apply the first coat evenly, pressing firmly to ensure good adhesion. This layer is usually thinner, acting as a base for subsequent coats.
- Level and Smooth: Once the first coat is semi-dry, level and smooth it out to provide a good base for the next layer.
- Apply Subsequent Coats: Depending on the desired finish, one or more additional coats may be needed. Allow each coat to partially dry before applying the next.
- Final Texturing: After the last coat, texture the render as desired while it’s still pliable.
One note, avoid common mistakes such as applying too thick a layer at once, rendering in extreme weather conditions, or not allowing sufficient drying time between coats. These can lead to cracking, uneven texture, or poor adhesion.
Maintenance and Upkeep of Rendered Walls
Effective maintenance is key to preserving the appearance and longevity of rendered wall. Regular cleaning, using gentle methods like soft washing, helps maintain their aesthetic appeal. Addressing common issues like cracks or weather damage promptly is crucial; small cracks can be filled and sealed to prevent water ingress and further deterioration.
For more significant wear or fading, consider re-rendering or touch-ups. This not only refreshes the appearance but also reinforces the wall’s protection. A periodic assessment by a professional can help determine the right time for such interventions, ensuring your rendered walls remain in top condition.
Conclusion
Wall rendering offers both aesthetic enhancement and protective benefits, making it a valuable consideration for exterior projects. It not only elevates the visual appeal of a structure but also provides a layer of defense against environmental elements. For those contemplating a fresh look or added protection for their buildings, rendering presents a practical and effective solution. Embrace the transformative power of rendering to revitalize and safeguard your exterior spaces.